Hardware configurations
In order to get all up to date, it is a requirement to have the firmwares fully updated, this issue is handled by Arduino IDE, a preconfigured files for set up the system can be installed with:
hg clone ssh://hg@bitbucket.org/gcpds/arduino
cd arduino
sudo chmod a+x install.sh
./install.sh
This instructions will install the following libraries and boards:
Libraries
OpenBCI 32bit Library 3.1.2
OpenBCI 32bit SD 2.0.0
OpenBCI Wifi Master 1.0.1
OpenBCI Radios 2.0.4
Boards
RFDuino 2.3.3
ChipKIT 2.0.6
After this, Arduino IDE must be able to use boards like OpenBCI 32 and RFduino, new examples will be created too, the most important are OpenBCI_Radios >> RadioHost32bit, OpenBCI_Radios >> RadioDevice32bit and OpenBCI_32bit_Library >> DefaultBoard.
Install firmwares (with Arduino IDE)
OpenBCI 32bit (Cyton)
This is the ChipKIT based board, can be programmed through RFduino, just like when we are using the board.
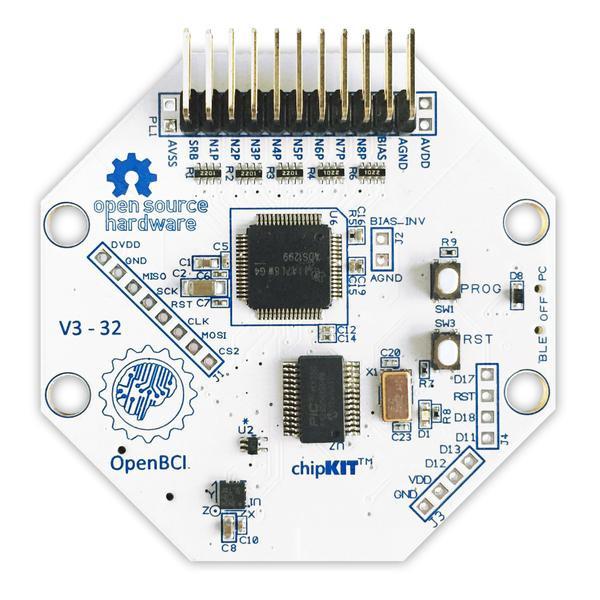
Select the board
OpenBCI 32Load
OpenBCI_32bit_Library >> DefaultBoardfrom examplesPut board in bootloader mode pressing
PRGandRSTbutton and releasing firstPRGand thenRST.VerifyandUploadwith Arduino IDE.
RFduino Host
This is the board tha we connect through USB, is IMPORTANT set the switch to RESET position.
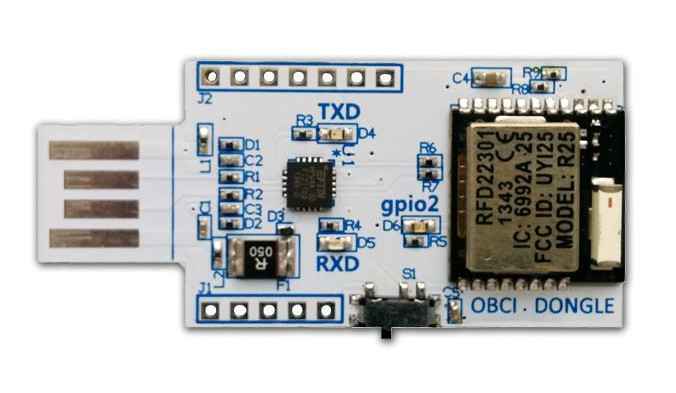
Select the board
RFduinoLoad
OpenBCI_Radios >> RadioHost32bitfrom examplesVerifyandUploadwith Arduino IDE.
RFduino Device
This board is beside ChipKIT, but no have an own serial connection, so is needed an external FTDI device, is very IMPORTANT to use a 3V device instead of 5V and power the Cyton board with this source and not with batteries.

Select the board
RFduinoLoad
OpenBCI_Radios >> RadioDevice32bitfrom examplesVerifyandUploadwith Arduino IDE.